การตั้งค่า Proxy เพื่อใช้ฐานข้อมูลภายนอกของมหาวิทยาลัยราชภัฏนครศรีธรรมราช
การตั้งค่า Proxy

การตั้งค่า Proxy เพื่อใช้ฐานข้อมูลภายนอกของมหาวิทยาลัยราชภัฏนครศรีธรรมราช โดยสามารถเลือกใช้ เว็บเบราว์เซอร์ (web browser) ได้ดังนี้
ชื่อผู้ใช้ : ชื่อของบุคลากร เช่น taradol_kit หรือ รหัสนักศึกษา
รหัสผ่าน : รหัสการเข้าใช้งานอินเทอร์เนต
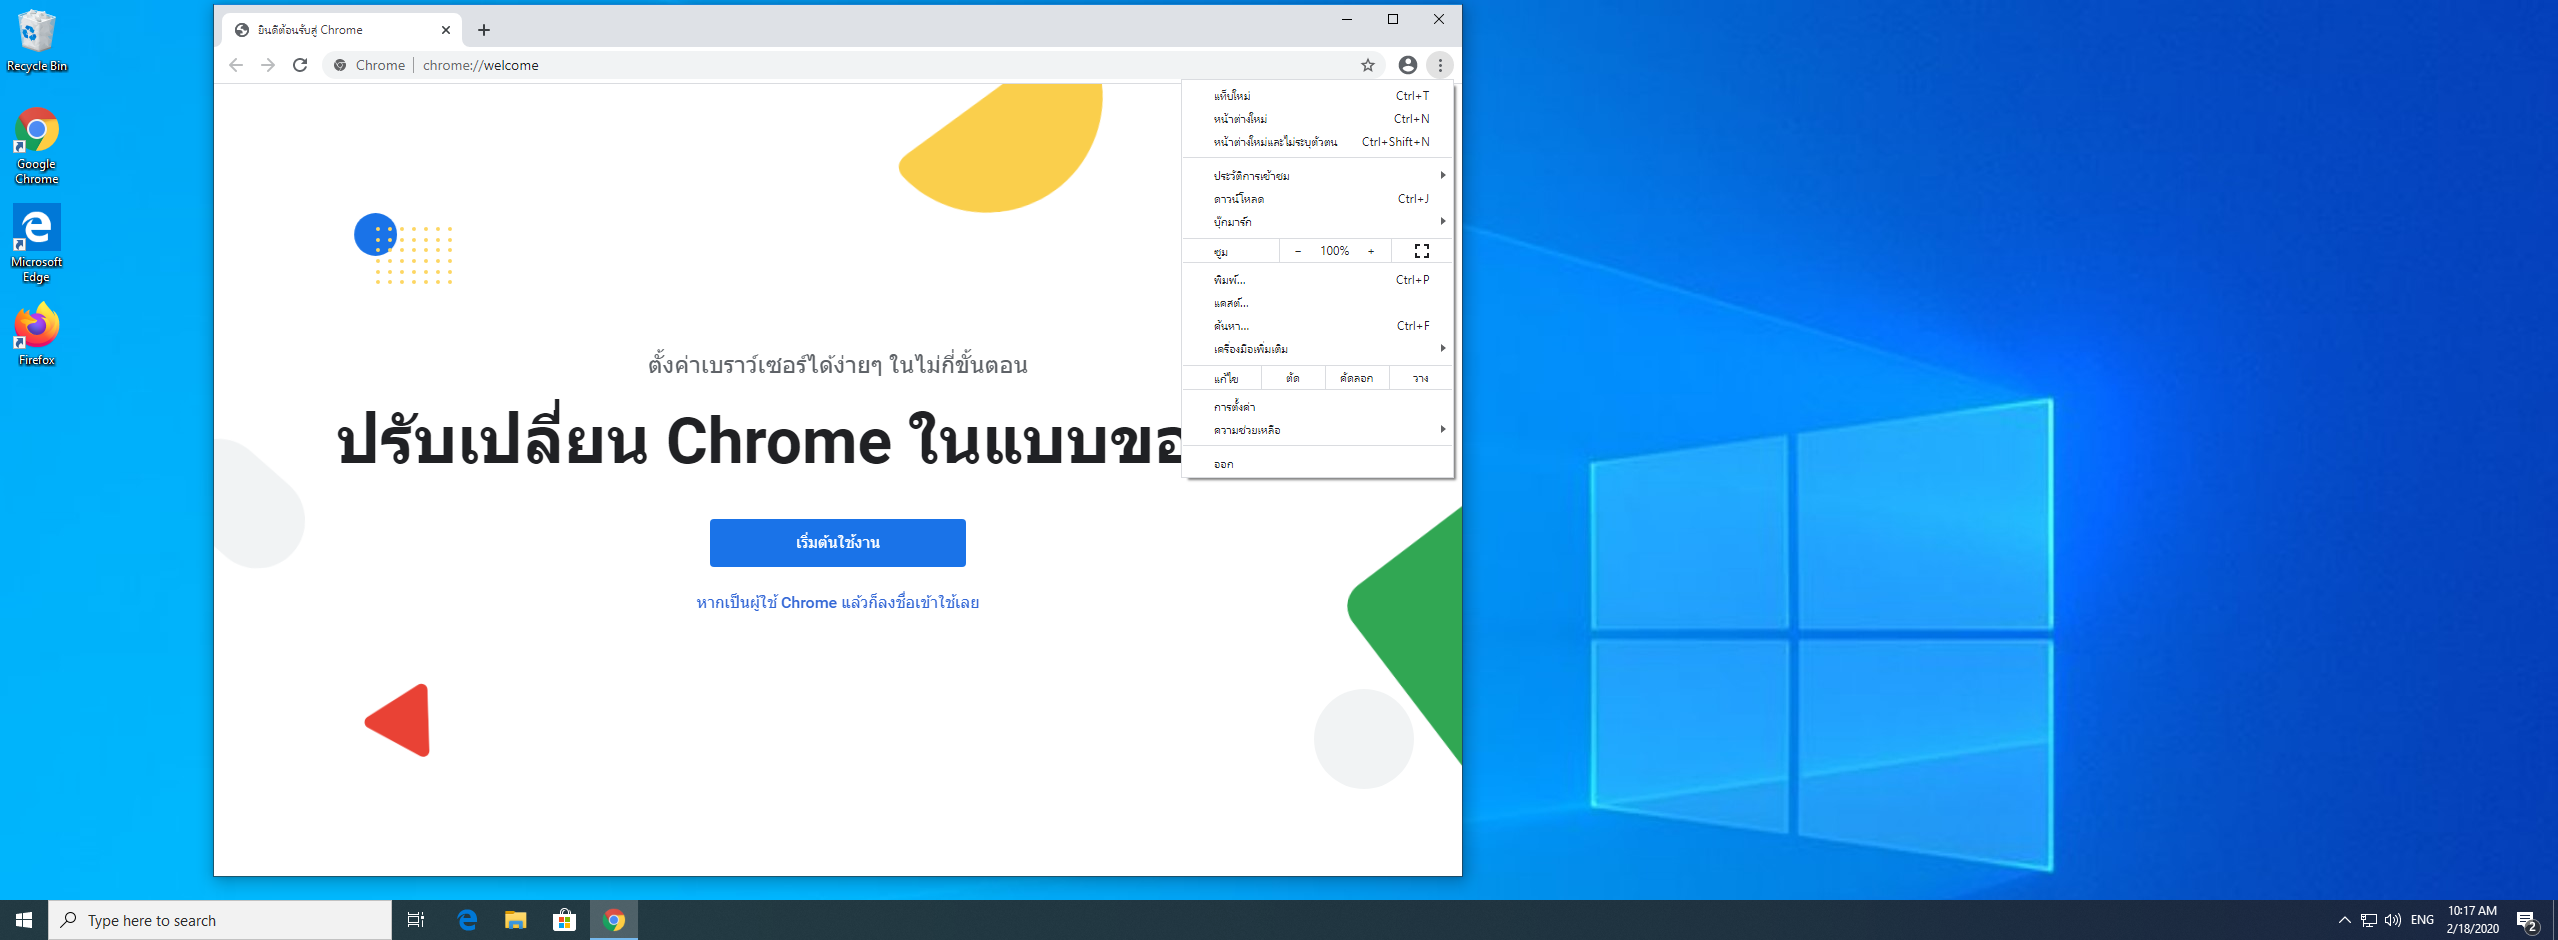

สำหรับ Chrome
- ไปที่ จุด 3 จุด เลือก การตั้งค่า
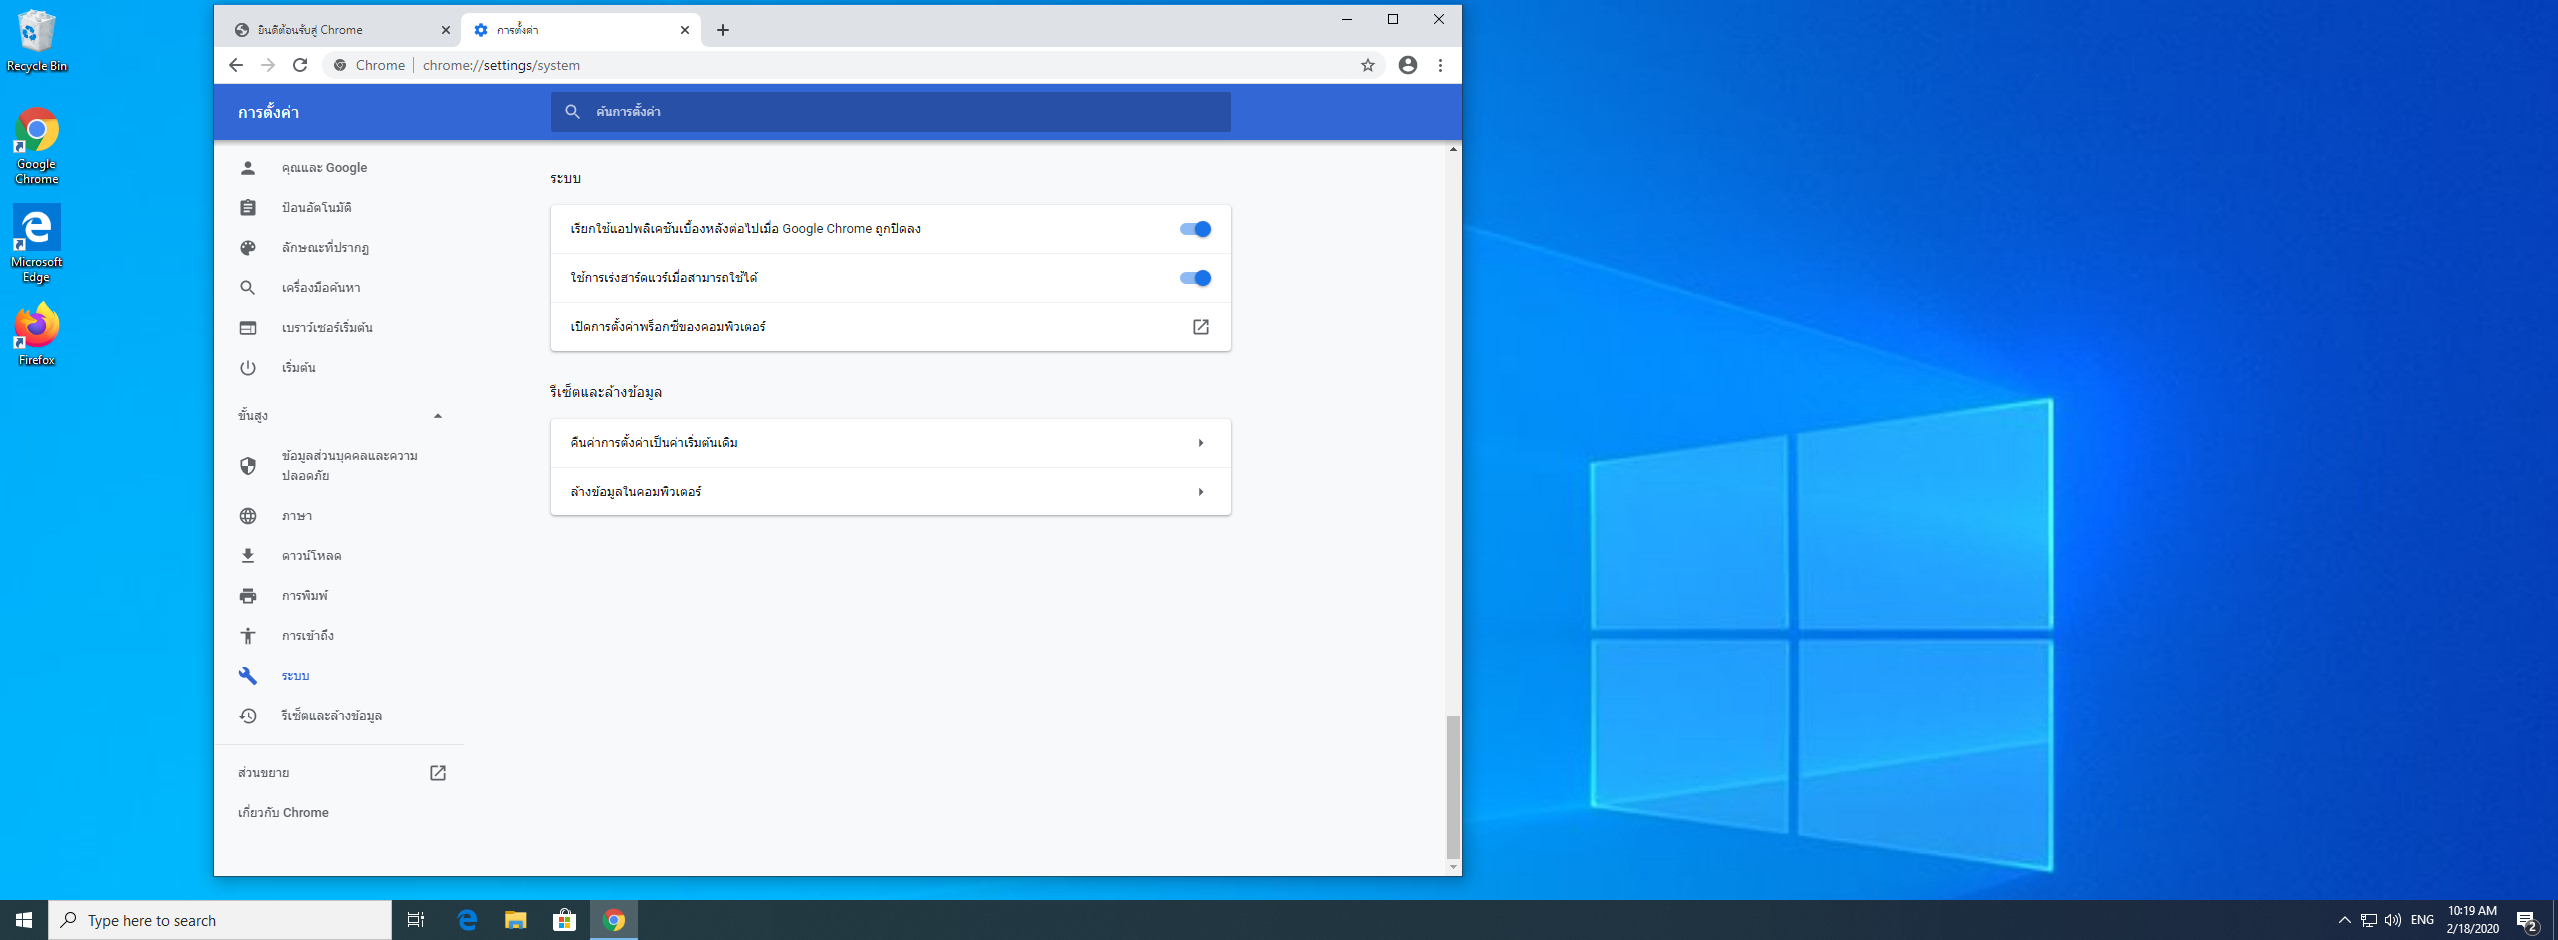
2. เลือก ระบบ -> เปิดการตั้งค่าพร็อกซี่ของคอมพิวเตอร์
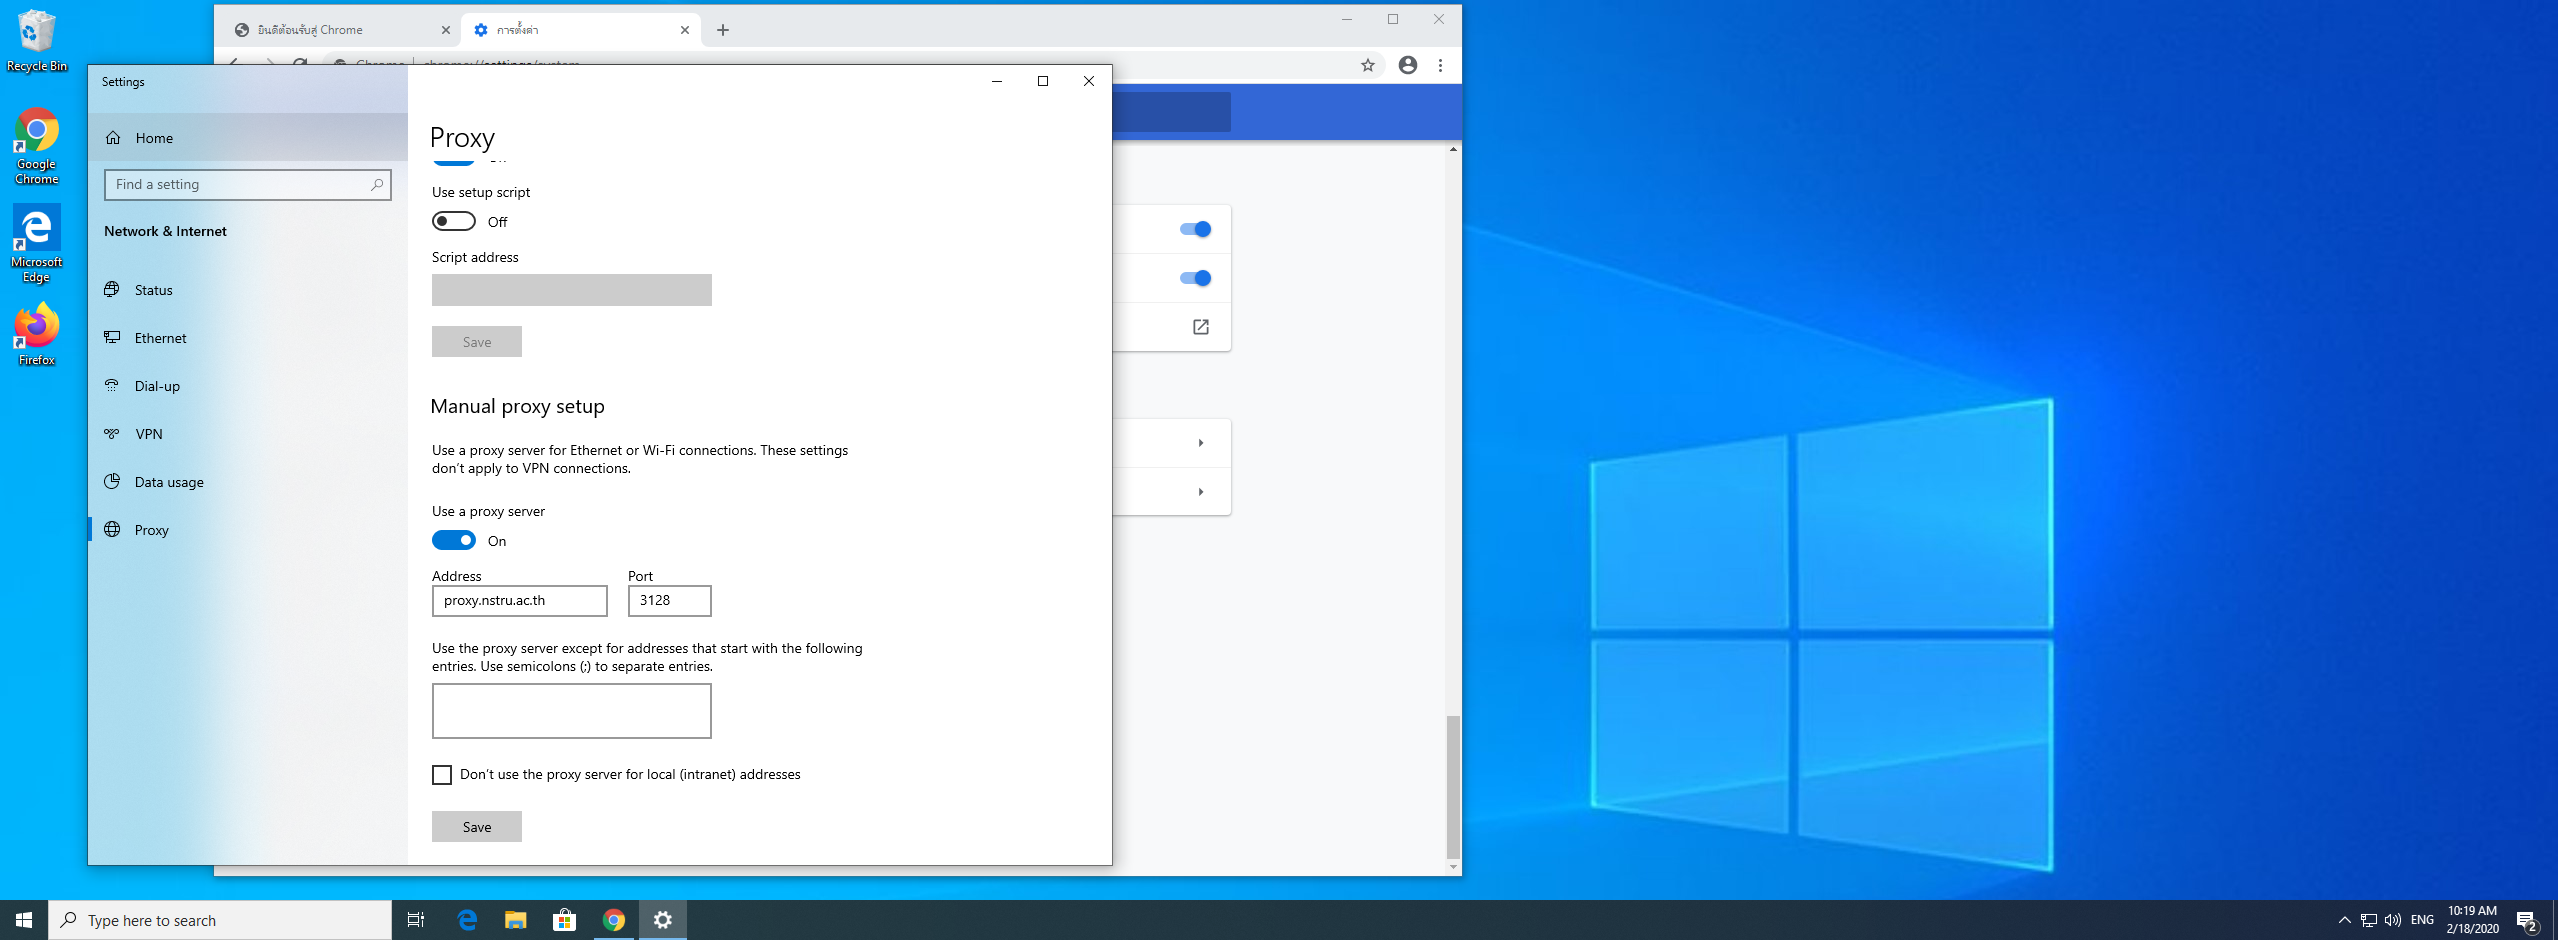
3. ระบบจะไปดึงหน้าตั้งค่า proxy ของ windows มา ไปที่ Manual proxy setup เลือก Use a proxy server เป็น On แล้วกำหนดค่าดังรูป
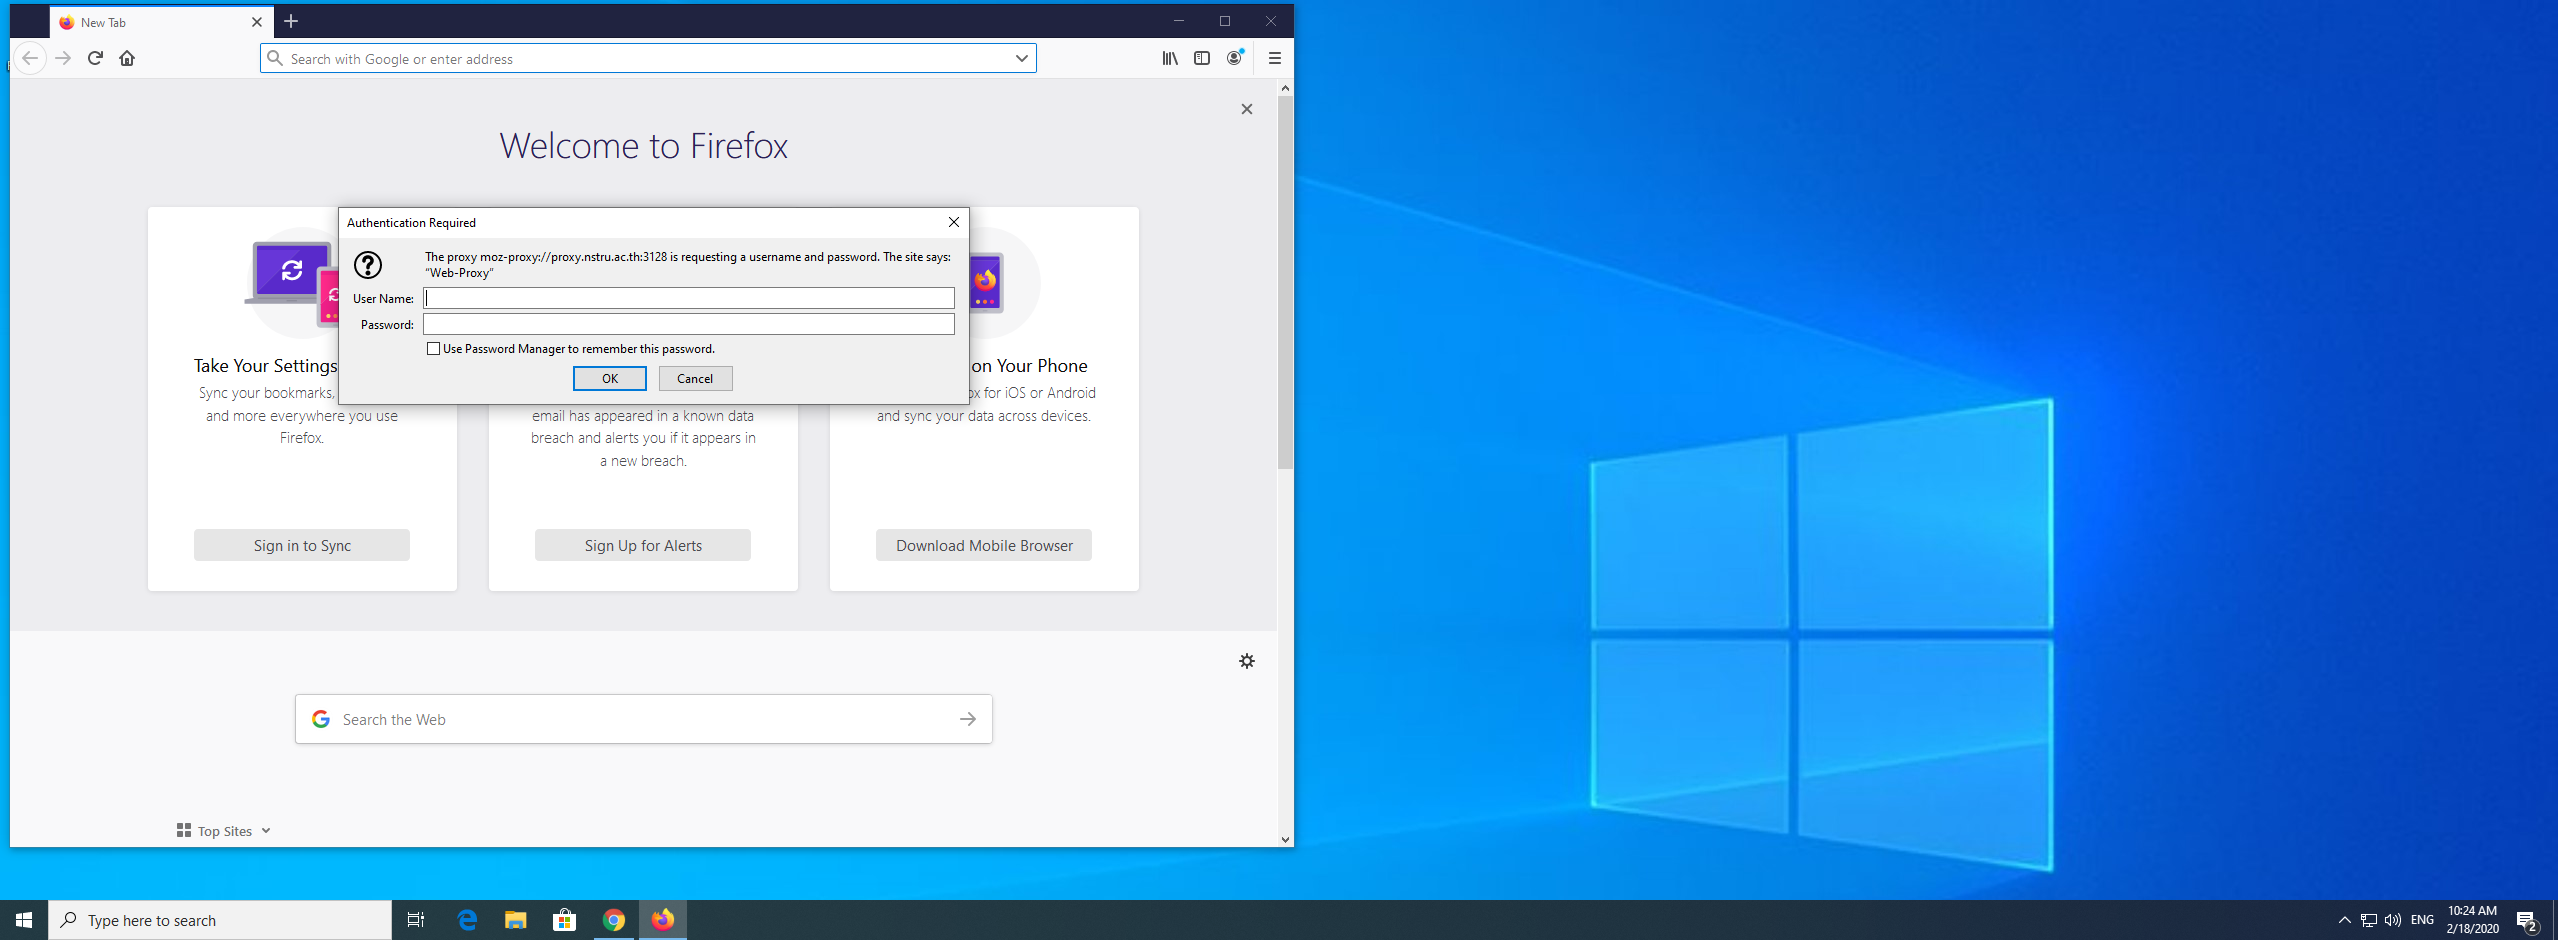
4. เปิด chrome อีกครั้งจะพบว่าให้ใส่ชื่อผู้ใช้ กับ รหัสผ่าน
สำหรับ Microsoft Edge
- ไปที่จุด 3 จุดเลือก setting
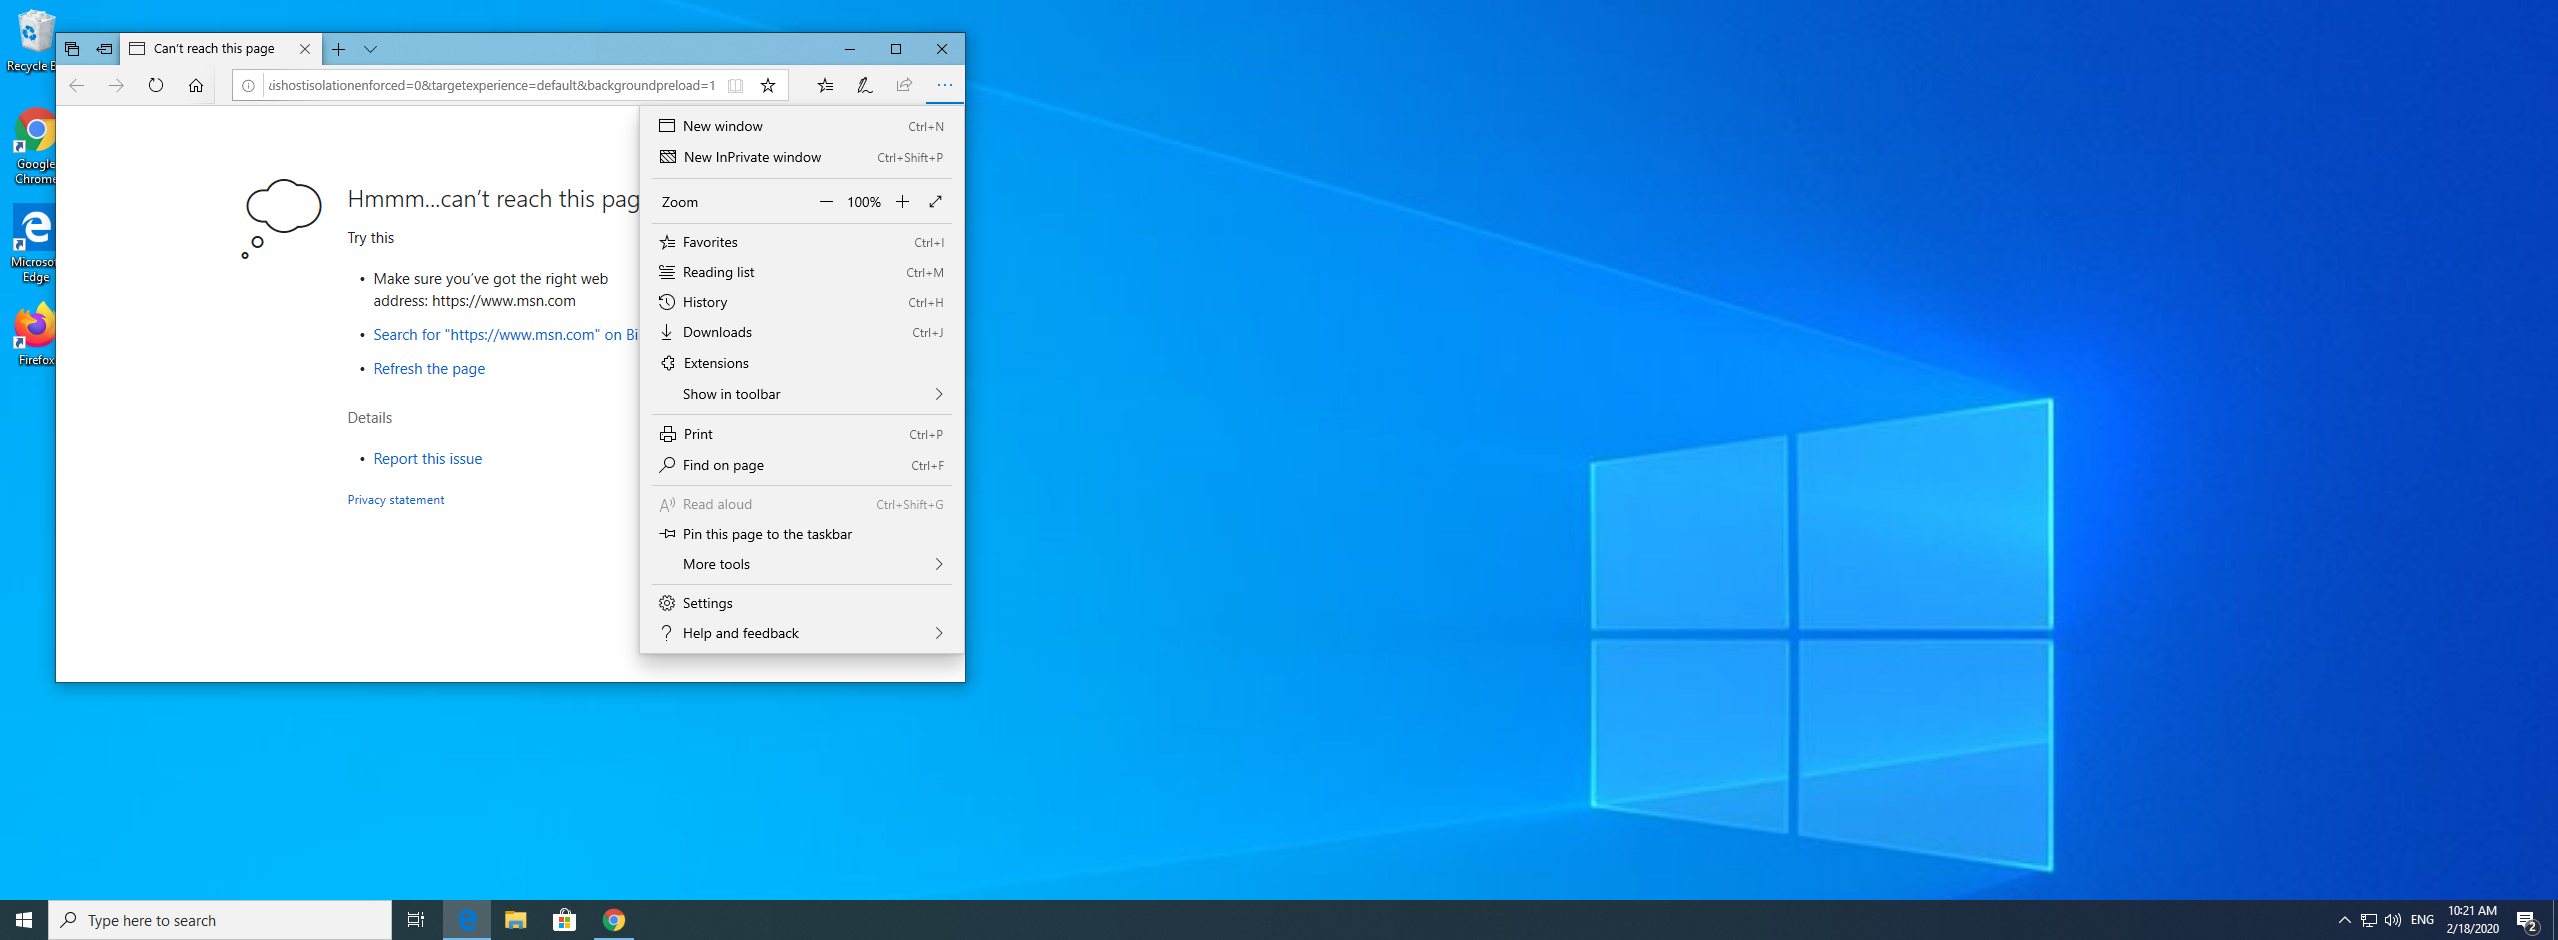
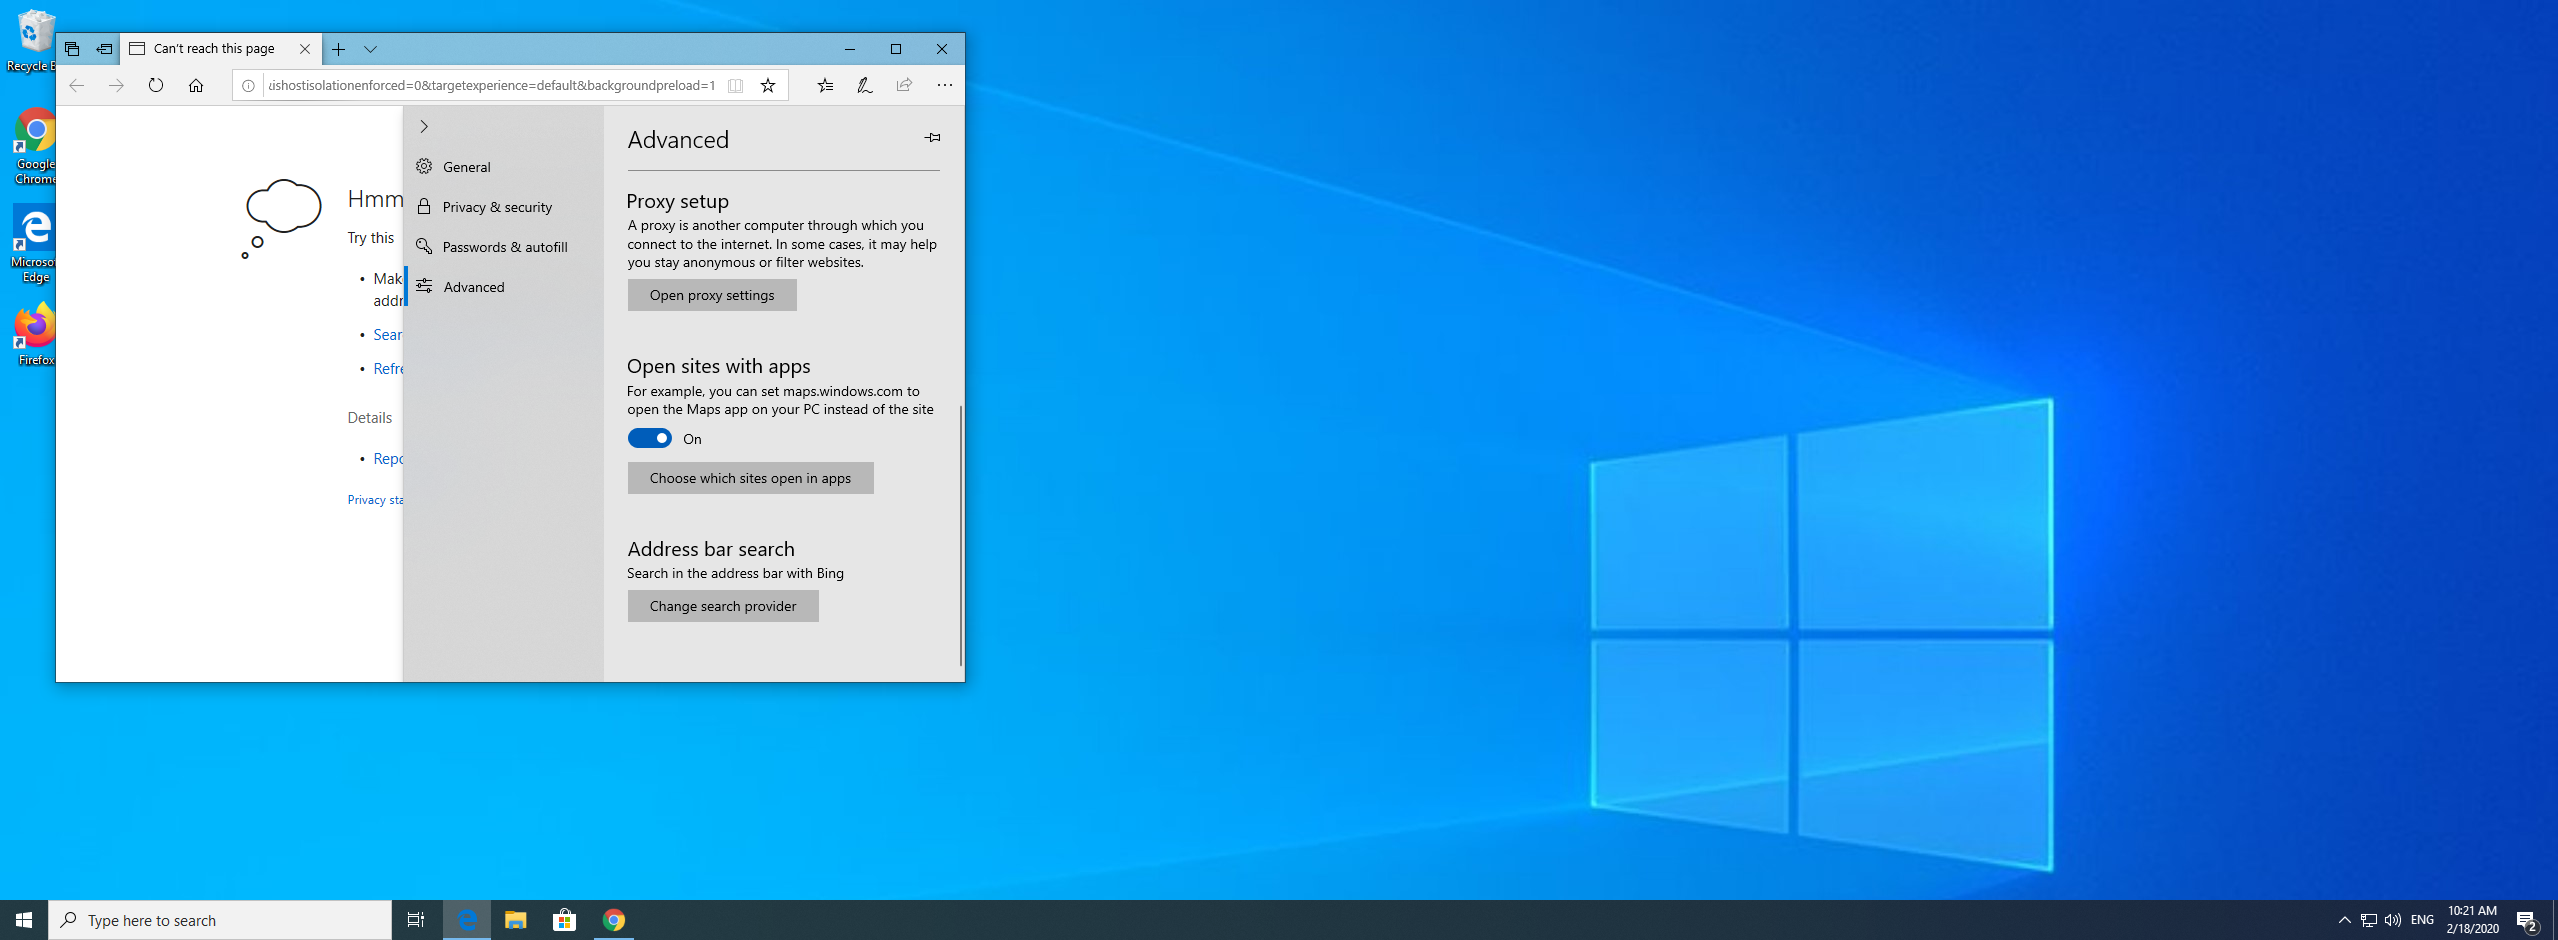
2. เลือก Advanced กด Open proxy settings
3. ระบบจะไปดึงหน้าตั้งค่า proxy ของ windows มา ไปที่ Manual proxy setup เลือก Use a proxy server เป็น On แล้วกำหนดค่าดังรูป
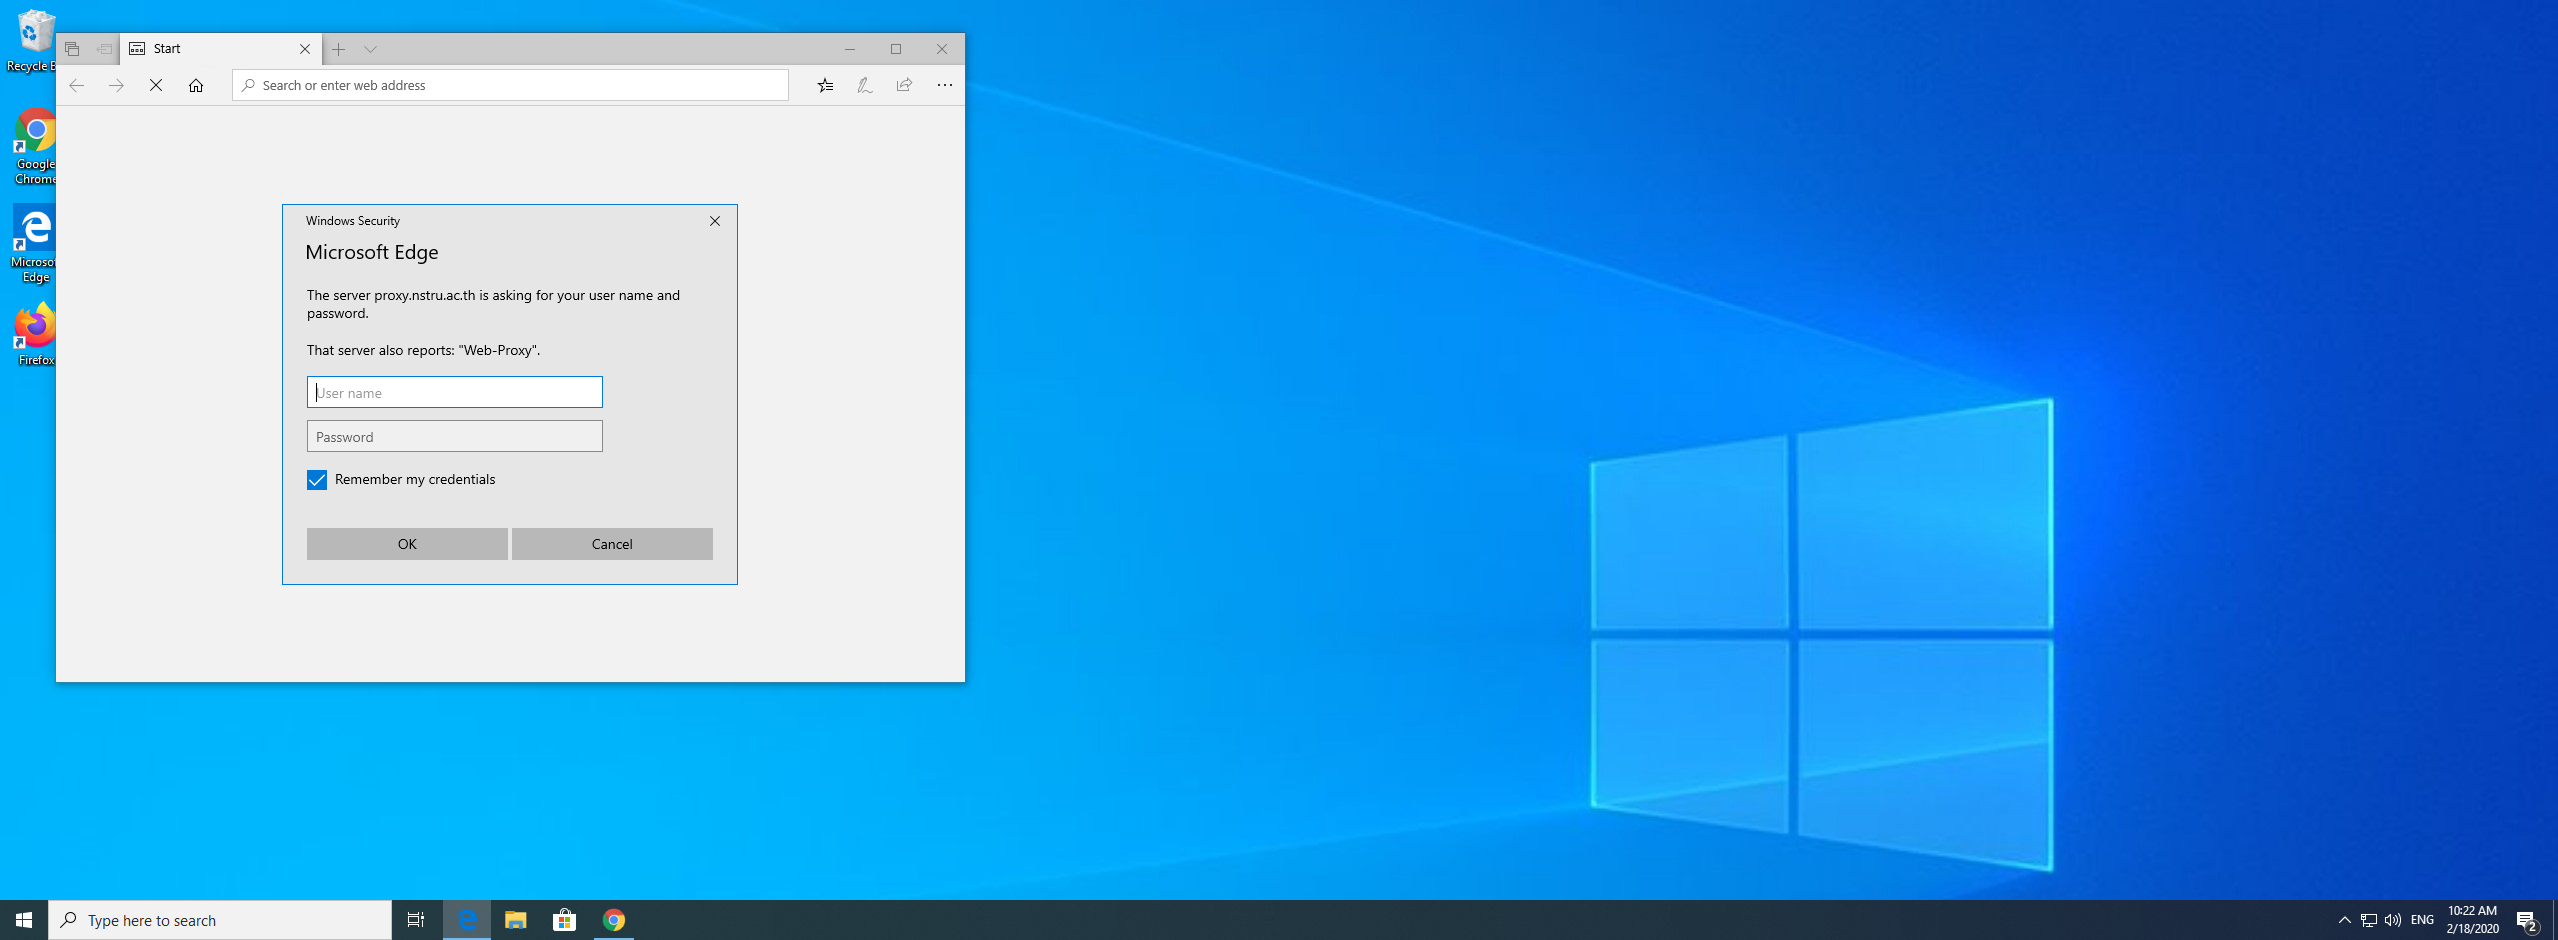
4. ลองเปิด Microsfot Edge จะให้ใส่ชื่อผู้ใช้กับรหัสผ่าน
สำหรับ Firefox
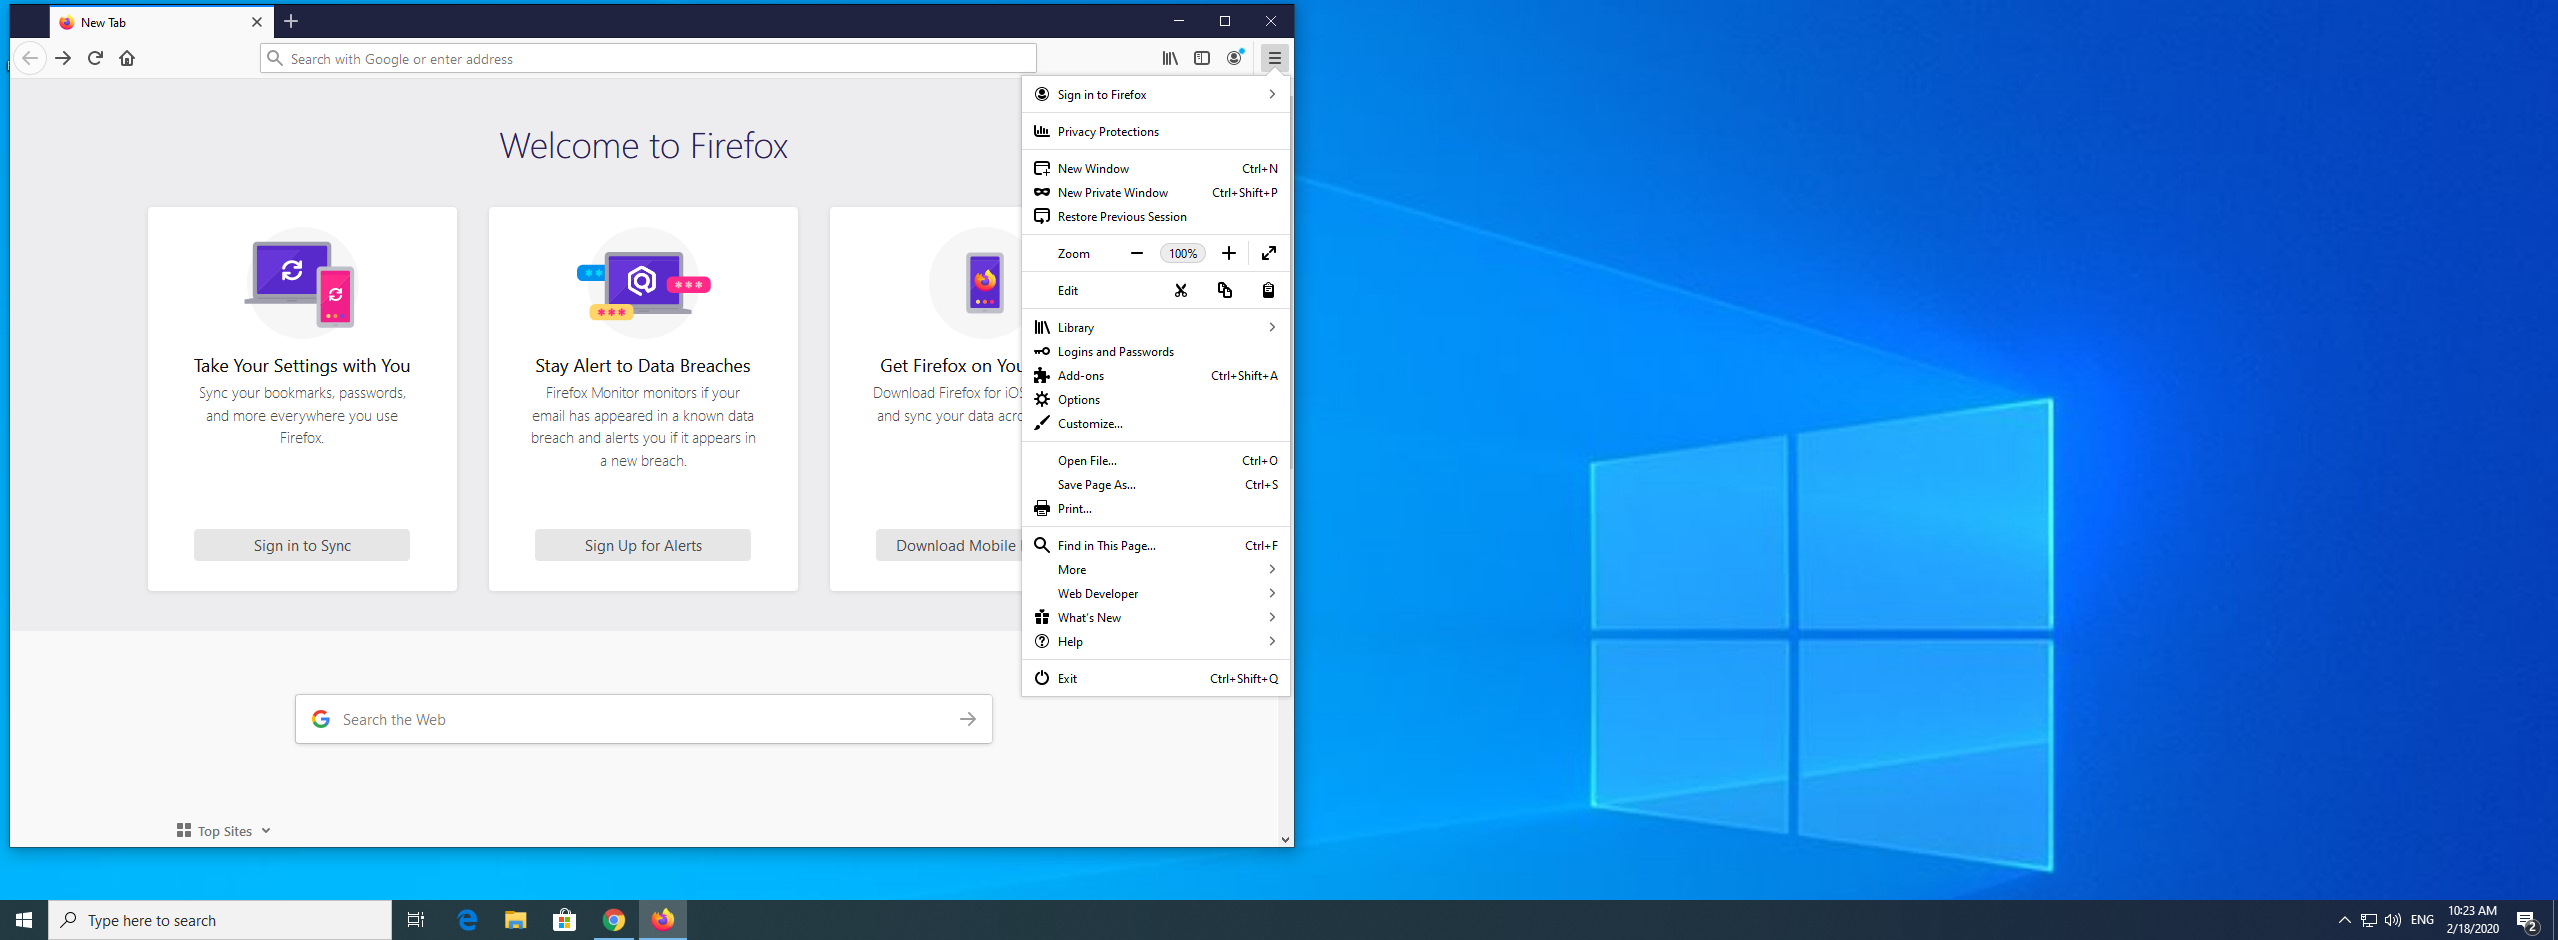
- ไปที่ขีด 3 ขีด เลือก Options
2. เลื่อนมาล่างสุดไปที่ การตั้งค่าเครือข่าย -> การตั้งค่า เลือก Manual proxy configuration กำหนดค่าดังรูป

3. เปิด firefox อีกครั้งจะพบให้ใส่ชื่อผู้ใช้กับรหัสผ่าน